PowerPoint 2013 makes it very easy to add a screenshot—an image of your computer screen—to a slide:
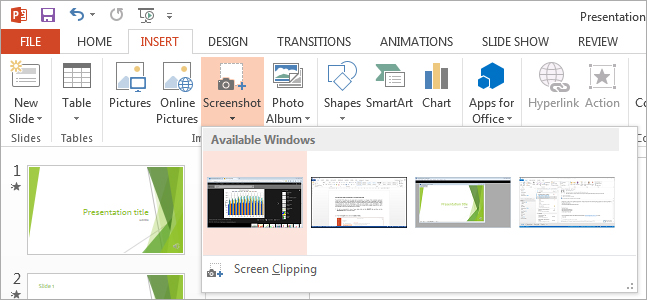
Switch to the INSERT tab and click on the Screenshot button as shown below.
Thumbnails of the open windows on your desktop will appear. Click on the thumbnail of the window that you want to capture as a screenshot. A screenshot of this selected window will appear on the active slide in your presentation.
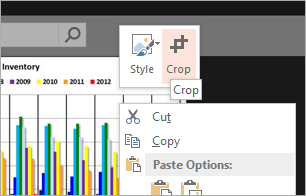
To edit the screenshot and to zoom in on the part of the screen you are most interested in, right-click and select Crop from the context menu.
By dragging the side and the corner handles, you can crop the screenshot according to your preferences.
Click outside of the shaded area and your cropped image will appear.
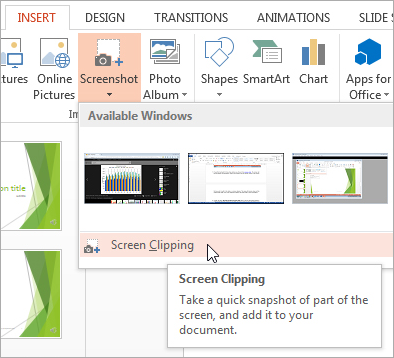
An easier route, which accomplishes the same thing as steps 3-5, is to use the Screen Clipping tool. Select the INSERT tab, click on the Screenshot button, and choose Screen Clipping as shown below.
PowerPoint will switch to the window you visited last. The screen will become faded.
Drag a new window over the specific section of the screen that you wish to add to the slide as a screen clipping. The screen clipping will be added to the active slide in your presentation.