PowerPoint allows you to create headers and footers, that is, information that appears at the top and bottom of all slides. This information will typically include the name of the presenters, their affiliation, and the presentation title, slide number, and date, but other information can be added as well. However, be careful not to spoil your presentation with too much information.
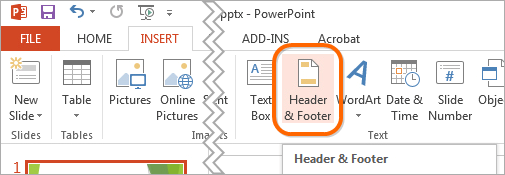
- First, you need to access the INSERT tab and click on the Header & Footer button.
- A dialog box will appear, as shown in the screenshot below.
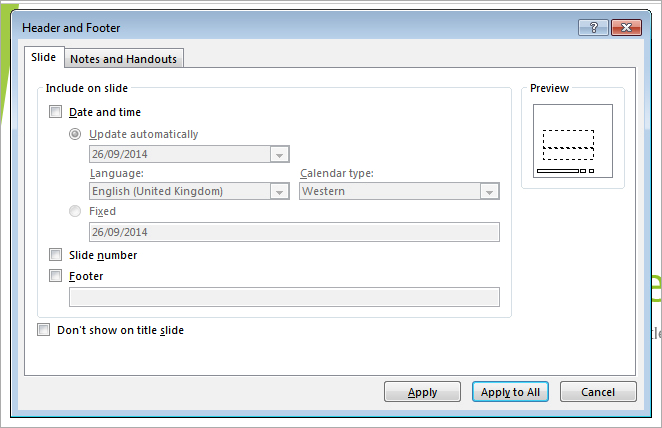
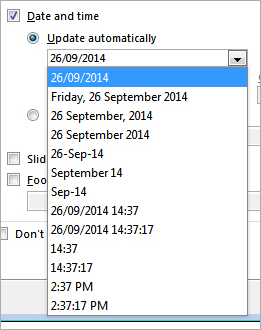
- The first option available is Date and Time. If you select the Date and Time checkbox, you will be given two options: Update automatically and Fixed. The Update automatically option means that the date and time will updated every time you open the presentation, which will save you the time and effort involved in updating it manually. The Fixed option means that, even if you open the presentation a month from now, the date and time will be fixed to the time when you created the header and footer. If you select Update automatically, you will be given a number of different formats for displaying the date and time, as shown below in the screenshot. Make a selection that best fits the format of your presentation.
- The next two options are Slide Number and Footer. It is usually a good idea to include the slide number so that it’s easier for you to refer back and forth to individual slides while you present. If you select Footer, you will be given the chance to write up your own customized text. Usually this would be your name and affiliation, as seen in the example below.

- The last option determines whether the header and footer is shown on the title slide. It is aesthetically better not to show this information on this slide since most of that information will be already displayed, such as the title of the presentation, the name and affiliation of the presenter, and sometimes even the date. So select Don’t show on title slide. Click Apply to All to save the changes and to update the slides.
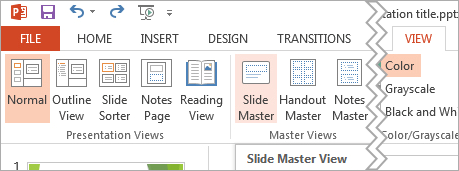
- You can adjust the appearance of the header and footer by selecting the VIEW tab and clicking on Slide Master.
- Once in the Slide Master view, you can make any changes you like to the header and footer by moving or resizing the text boxes and changing their text attributes via the HOME or FORMAT tabs.
- Once you have finished your changes, click the Close Master View button. You will notice that your changes have been applied to all slides.
You can use beautiful font types to create a presentation. However, if audience members do not have the same font installed on their computers, the font will not display correctly when they view your presentation because PowerPoint substitutes an unknown font with what it determines as a similar type. This automatic matching process often leads to disastrous results. However, PowerPoint 2013 enables you to embed your preferred fonts into the presentation so that they appear as you intended regardless of whether the computer displaying the slideshow has that particular font installed.
- First, click on the FILE tab and then select Options.
- In the dialog box that appears, select Save. At the very bottom of the list of options on the right pane and under the heading Preserve fidelity when sharing this presentation, you will find options for embedding fonts. Check the box labeled Embed fonts in the file.
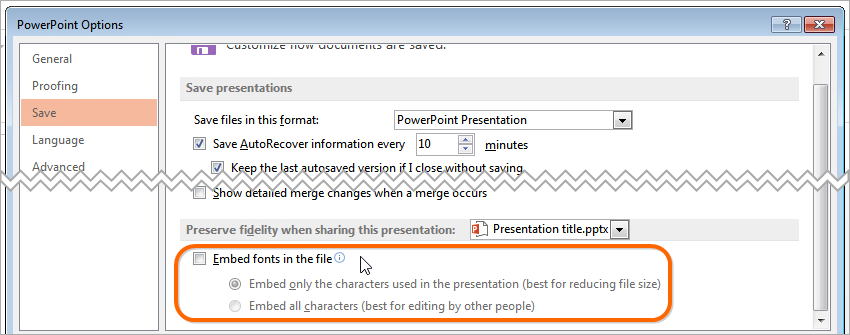
You may choose one of the following options: Embed only the characters used in the presentation or Embed all characters. The first option will let others view but not edit. The second option well let others view and edit but will increase the file size of the presentation. Check the option you prefer and click OK.
Please note that only TrueType and OpenType fonts can be embedded.
PowerPoint 2013 makes it very easy to add a screenshot—an image of your computer screen—to a slide:
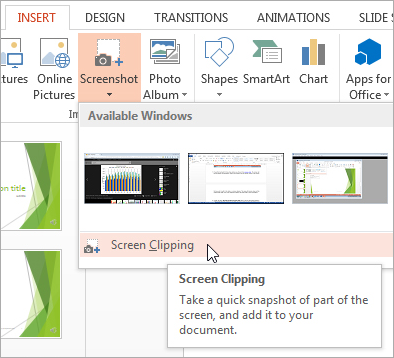
- Switch to the INSERT tab and click on the Screenshot button as shown below.
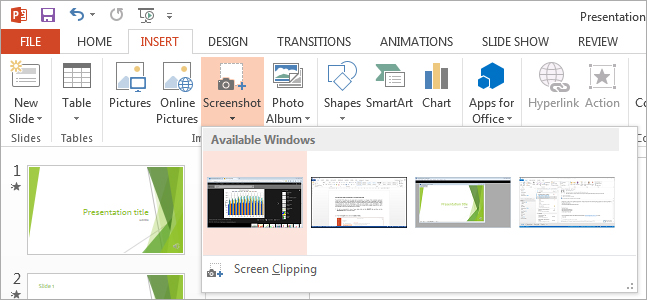
- Thumbnails of the open windows on your desktop will appear. Click on the thumbnail of the window that you want to capture as a screenshot. A screenshot of this selected window will appear on the active slide in your presentation.
- To edit the screenshot and to zoom in on the part of the screen you are most interested in, right-click and select Crop from the context menu.
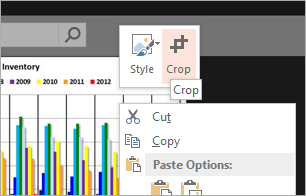
- By dragging the side and the corner handles, you can crop the screenshot according to your preferences.
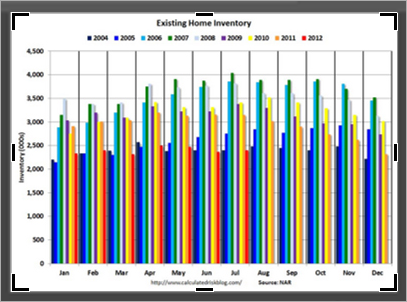
- Click outside of the shaded area and your cropped image will appear.
- An easier route, which accomplishes the same thing as steps 3-5, is to use the Screen Clipping tool. Select the INSERT tab, click on the Screenshot button, and choose Screen Clipping as shown below.
- PowerPoint will switch to the window you visited last. The screen will become faded.
- Drag a new window over the specific section of the screen that you wish to add to the slide as a screen clipping. The screen clipping will be added to the active slide in your presentation.
PowerPoint 2013 enables you to add one or more slides to your presentation from a different presentation that is either located on your computer or on a network without having to open the other file.
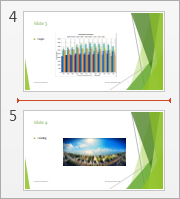
- In the left pane where you see thumbnail images of your slides, click in-between the slides where you want to add the imported slide. A red line will appear as seen in the screenshot below between slides 4 and 5.
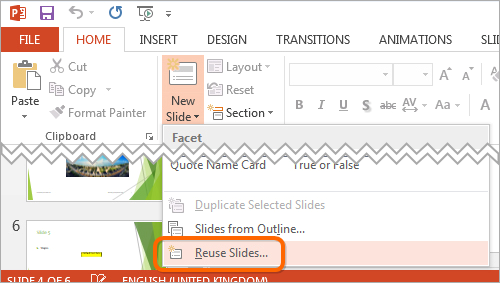
- Now click on New Slides under the HOME tab and select Reuse Slides from the bottom of the list.
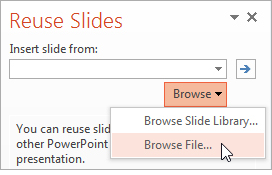
- A new pane will appear on the right, which will ask you to locate the file you want to obtain the new slides from. Click Browse and then click Browse File in the drop-down menu that appears.
- Once you locate the file, thumbnails of the presentation slides will appear on the right pane as shown below.
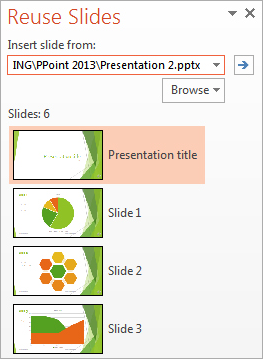
To insert one or all of the slides, right-click on any slide and select Insert Slide or Insert All Slides. You also have the option to apply the theme of the destination presentation to the imported slides by selecting Apply Theme to Selected Slides or Apply Theme to All Slides. To maintain the formatting of the source presentation, check the box Keep source formatting before you insert any slide.
It is always a good idea to reduce the size of your PowerPoint presentation, particularly if your presentation contains large photos or images. Picture compression can quickly reduce the file size of one or all of your photos at the same time. File reduction is especially useful when you want to upload your presentation to a website or when you need to email your presentation to your audience.
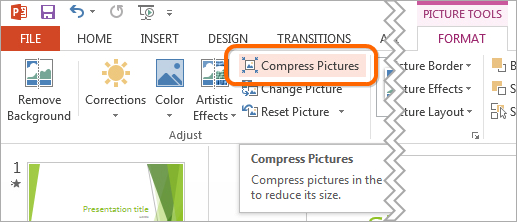
- Select an image on the slide to activate the FORMAT tab.
- Switch to the FORMAT tab and click on Compress Pictures.
- A dialog box will appear with two sets of options.
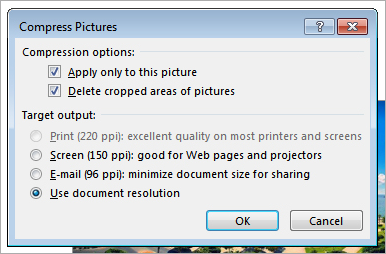
Under Compression Options, you can select whether to compress all photos in your presentation or only the photo currently selected. Additionally, if you have any cropped pictures, the cropped sections are hidden from view but are not deleted. Check the second box to delete the cropped parts and to minimize the size of your presentation.
The options under Target Output determine the degree of compression applied to the images. The first three options are fairly self-explanatory. The Use document resolution option adjusts the picture resolution to 220 dpi.
- Select the option that best fits your preferences and click OK to start the compression process.
If you compressed your presentation and the file is still too large, repeat the steps above and tweak different options.
PowerPoint enables you to set the default format of all shapes or text boxes you insert into your presentation. Every time you create a new shape or text box, it will take on the default format you have set, saving you time and effort.
- Select the INSERT tab. Click on Text Box to add a new text box to your slide.
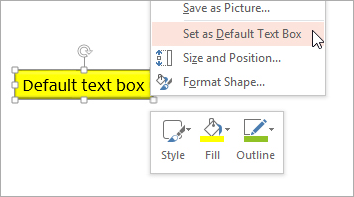
- Once you have created your new text box, right click on it to format it. You can change the color, style, line width, etc.
- Once you have formatted the text box, right click on it and select Set as Default Text Box from the context menu.
Now every time you add a text box, it will take on your default format. You can use the same steps to set a default format for normal shapes (Set as Default Shape) and lines (Set as Default Line).