In this post, I will demonstrate how to create a diagram consisting of four curved arrows, as shown in the image below:

The tutorial relies heavily on the Merge Shapes features of PowerPoint 2013/2016. In order to use these features in PowerPoint 2010, you first have to customize the Ribbon toolbar, as described here.
Here are the exact steps to follow to create the cyclic arrow diagram:
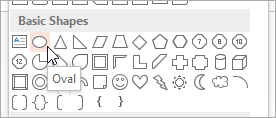
- Add an Oval shape to the slide (hold the Shift key while drawing to make it a circle).
- Select the circle and press Ctrl+D to duplicate it.
- Move the new circle on top of the existing one.
- Reduce the size of the circle by grabbing the handle with the mouse and dragging it (hold Ctrl+Shift while resizing).
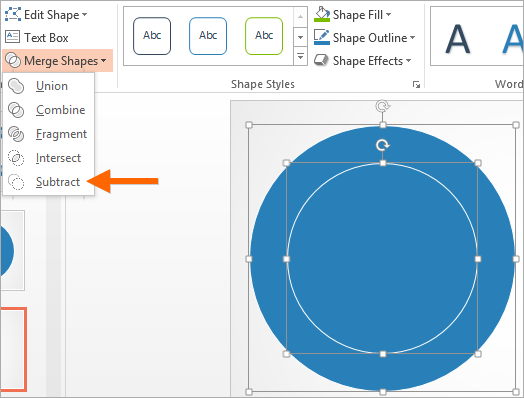
- Select the large circle.
- Hold the Shift key and click on the small circle to add it to the selection.
- Choose FORMAT → Merge Shapes → Subtract to cut out the small circle from the large one.
- Add a Triangle shape and duplicate it three times (Ctrl+D).
- Move and rotate the triangles so they form the heads of the four arrows (hold Shift while rotating to snap to steps of 15 degrees).

- Select the circle and the triangles.
- Choose FORMAT → Merge Shapes → Fragment to break up the shapes into smaller parts.
- Select and delete the fragments that are not needed for the diagram.
- Select a part of the circle.
- Hold Shift and select the matching arrowhead to add it to the selection.
- Choose FORMAT → Merge Shapes → Union to turn the selected shapes into one single shape.
- Repeat the above steps for all four arrows.
- Select the four arrows and change their fill to a gradient (FORMAT → Shape File → Gradient).
- Increase the outline width of the shapes to 3 pt (FORMAT → Shape Outline → Weight).
- If necessary, change the outline color to white (FORMAT → Shape Outline).
- Add a Text Box to the slide and fill it with some text for the first arrow.
- Increase the font size for the text box to 32 pt.
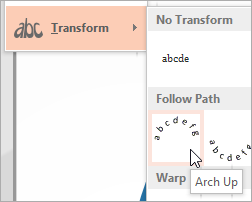
- Choose FORMAT → WordArt Styles → Text Effects → Transform → Follow Path → Arch Up.
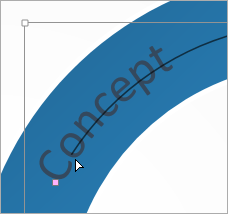
- Increase the size of the text box to almost match the size of the circle and center it within the circle.
- Grab the pink handle left of the text and position the text within the first arrow.
- Change the text to bold and change its font color to white.
- Duplicate the arrow text shape and use the pink handle to move the text to the second arrow.
- Duplicate the text shape again and change its text effect to Arch Down (FORMAT → WordArt Styles → Text Effects → Transform → Follow Path → Arch Down).
- Change the alignment of the text to Align Right (Ctrl+R).
- Move the text to the third arrow and increase the size of the text box a bit (hold Ctrl+Shift+Alt while resizing).
- Repeat the above steps for the fourth arrow.
Click here to download the final PowerPoint .pptx file.